How to Create a Showstopping Gallery Wall
Gallery walls are one of my favourite things to install in homes I work on as they are timeless and never go out of style. A gallery wall is a great way to make your wall décor eye-catching and unique, allowing a glimpse into your design philosophy and personal style. Original artwork, family photos, mirrors, or even concert tickets or other memorabilia – there is so much freedom and fun to be had from curating a gallery wall!
So, how do you create one? Fear not – it doesn’t have to be complex! Gallery walls should be unique to each person, so there is no exact science to designing one – after all, no two gallery walls will ever be the same. The fundamental function of a gallery wall is to showcase your personality and display your favourite pieces; a curation of your interests and life experiences. It’s all about experimenting with different styles and types of wall art and frames.
However, if you are feeling nervous about starting, here are the steps I take when creating showstopping gallery walls, to inspire you to get hanging!
Collect, collect, collect
Naturally, the very first thing you’ll want to do is curate a collection of things you love.
Perhaps you have been an art collector all your life and you are now ready to show off your collection proudly; maybe you have just moved into a new family home and want to display your family photos before guests arrive. Anything goes when it comes to a gallery wall – as long as it’s important to you.
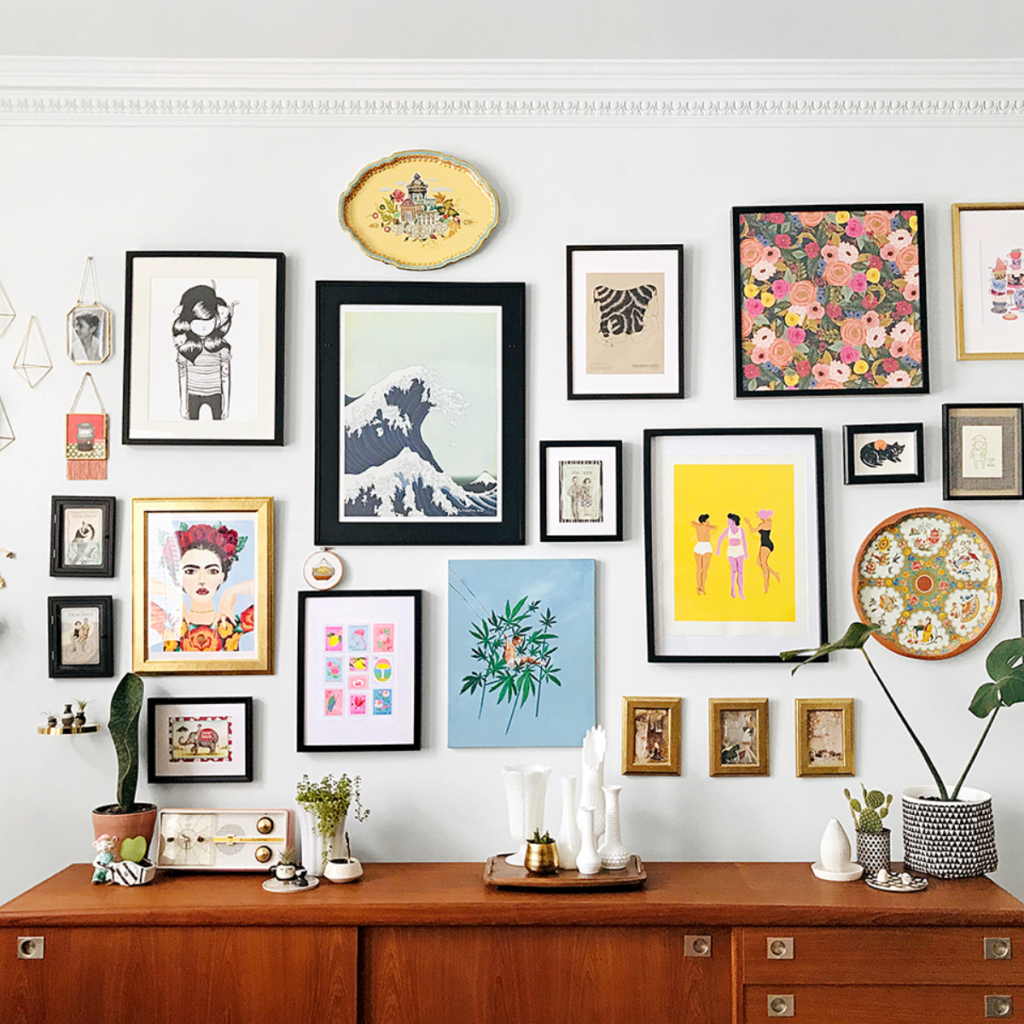
From original art to family photos and assorted memorabilia, think about what speaks to you and the story you want your gallery wall to tell. You can even add in other wall décor for variety, such as beautifully framed mirrors or wall hangings, to break up the artwork.
© Sun Ngo
The planning stages
This is probably where you will be spending the most time and energy, as while installing a gallery can be as simple as just selecting some artwork and placing it wherever you wish, it’s likely you will want to give it some thought to make sure it’s as showstopping as can be.
 One thing you may want to think about is an overarching theme. Perhaps the linking theme you want is type – all art pieces, family photos, or mirrors, for example. Maybe instead you prefer to focus on one specific colour palette, with each artwork and frame following a cohesive colour scheme or design trend, such as nautical or black and white, to name a few. Or maybe size is more your thing, if you desire everything to be small and orderly, or large and eye-catching. There is plenty of inspiration to be found all around – from Pinterest, to Instagram, or even your local café or independent shops – so don’t be afraid to seek out sources of inspiration from outside or online; the pieces you include will be unique, after all.
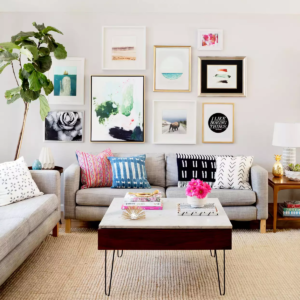
It’s also important to know what kind of wall you are working with. If you are a renter, you may be wary of drilling holes into the wall, so I recommend using Command™ Strips, or something similar, to hang your art. Similarly, if you have plaster walls, then hanging heavy items might not be the best idea. Instead, opt for smaller, lighter art pieces – you can still achieve a fabulous gallery wall!
© Edmund Barr
Lay it all out
Before you start drilling holes or applying adhesive hooks, it’s highly recommended that you lay it all on the floor first to arrange the order until you are happy with it. This is also a great opportunity to see how each piece will look side by side; for example, you might want to space out two large pieces, or pieces with similar colour palettes, to make the gallery wall look more balanced and attractive.
 I always recommend starting with the largest piece – or at least the piece you want to be your showstopper! – in the middle, and then building outwards. I also like leaving a good amount of space between each piece – though the exact dimensions are up to you based on how much space you have to play with – to avoid your gallery wall looking too crowded or cluttered. Your gallery wall doesn’t have to be symmetrical (unless you want it to be!), but balance is important. It also goes without saying that measuring your wall dimensions before this stage is vital!
Once you are happy with it, take a picture so that you can look at the entire layout more clearly.
Get hanging!
 Now comes the fun part – it’s time to create your gallery wall! I recommend having a pencil, rubber, and ruler handy, so that you can draw lightly on the walls where the top and bottom of the frame should sit before you drill holes or apply adhesive strips. Remember to have a spirit level to ensure everything is straight, too.
Again, starting from the middle and working out is the best way to go as it forms an anchor piece to help you hang the rest of the art. Never hang a piece of art and then move to a completely different space on the wall to hang something else! You could run into trouble if your measurements are even slightly off and then run out of space for the rest, or end up with a cluttered gallery wall.
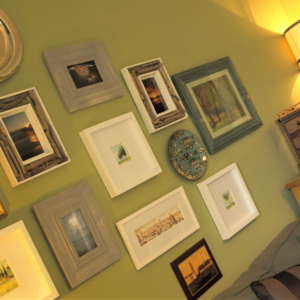
Once it’s all done – stand back and enjoy your new, showstopping gallery wall! You have now created something wholly unique and personal to you and your home, and it should be a source of great joy and comfort. And remember – your gallery wall can easily be changed or updated whenever you feel like it.
© Habitat
⭐ Top tips to remember ⭐
- Know what kind of wall you are working with – use Command™ Strips if you are unable to drill holes into your walls
- Arrange your art on the floor first to determine the layout and spacing
- Start in the middle with your showstopper
- Take a photograph of your arranged gallery wall on the floor to see how it looks before hanging
- Keep a pencil, rubber, ruler, and spirit level handy
- Have fun with it!
I hope these tips have helped inspire you to make your own gallery wall in your home. And remember – whether you want everything uniform and neatly lined-up, or unconventional and staggered with different-sized prints and styles of frame, make it personal to you and the story you want your home to tell!